Composite Tool Measurements
- Surface Profile Mapping
- Part to Tool Comparison
- CAD Comparison
- Scribe Line Measurements
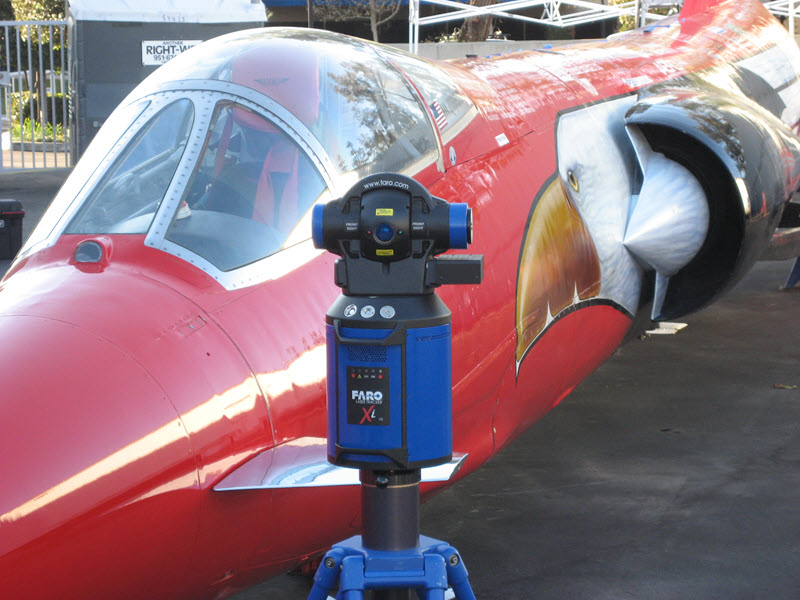
![RedJet_1193 600x800 Laser Tracker Model X](https://industrialmeasurementservices.com/wp-content/uploads/2020/03/RedJet_1193-600x800-1.jpg)
![WindShield Screenshot 800-600 Aerospace Tooling Metrology](https://industrialmeasurementservices.com/wp-content/uploads/2020/03/WindShield-Screenshot-800-600.jpg)
Large Part Measurement
- Surface Profile Mapping
- CAD Comparison
- True Position of Holes
- Scribe Line Measurements
![measuring-canopy1 Part Inspection Laser Tracker](https://industrialmeasurementservices.com/wp-content/uploads/2020/01/measuring-canopy1.jpg)
![measuring-canopy-profile2 CAD Model Laser Tracker](https://industrialmeasurementservices.com/wp-content/uploads/2020/01/measuring-canopy-profile2.png)
Assembly Tooling Fixture Inspection
- Periodic / Annual Inspections
- Set up / Level Fixtures
- Metrology Support for Repairs
- Write Templates for Repeat Inspections
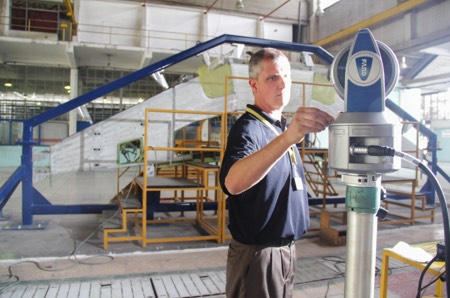
![mapping-holes2 Faro Laser Tracker](https://industrialmeasurementservices.com/wp-content/uploads/2020/01/mapping-holes2.jpg)
![mapping-holes1 Faro Wing Tool Model](https://industrialmeasurementservices.com/wp-content/uploads/2020/01/mapping-holes1.png)
Satellite Metrology
- Antennae Profile Mapping
- Optical Alignment
- Test Fixtures
- Anechoic Chamber Work (See Scientific)
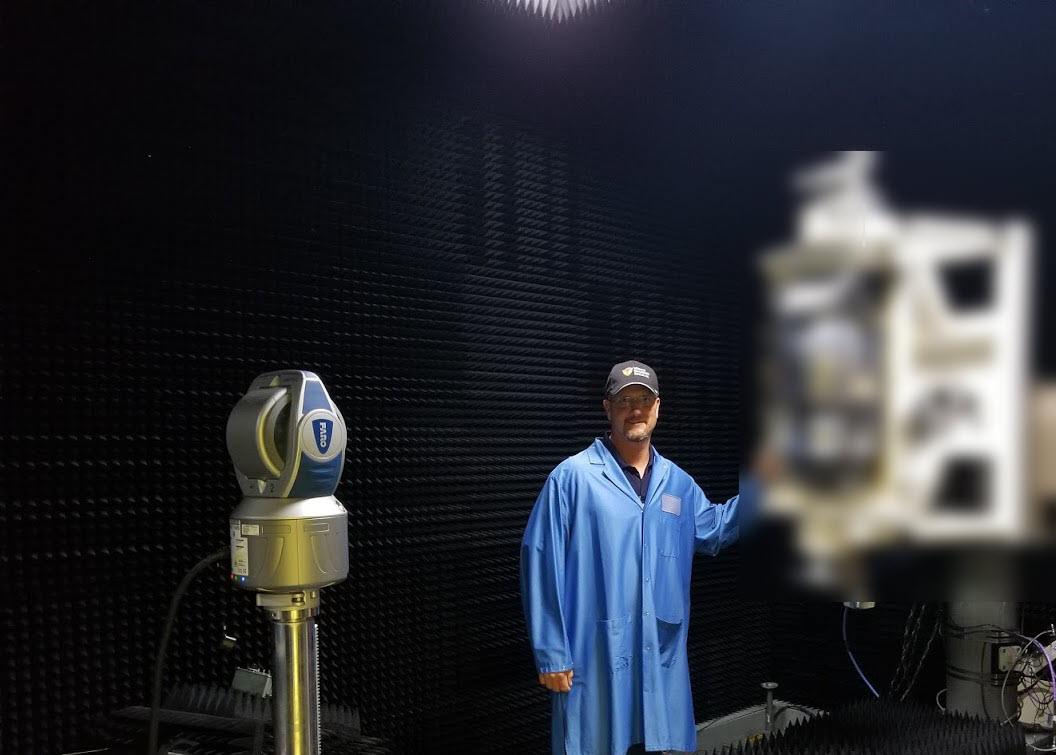
![Antenna_600x800 wide Laser Tracker Test Chamber](https://industrialmeasurementservices.com/wp-content/uploads/2020/03/Antenna_600x800-wide.jpg)
![Lines Screenshot A satellite image of the sky with several lines drawn in.](https://industrialmeasurementservices.com/wp-content/uploads/2020/03/Lines-Screenshot.jpg)